- English
- Français
- German
- Polski


Resources


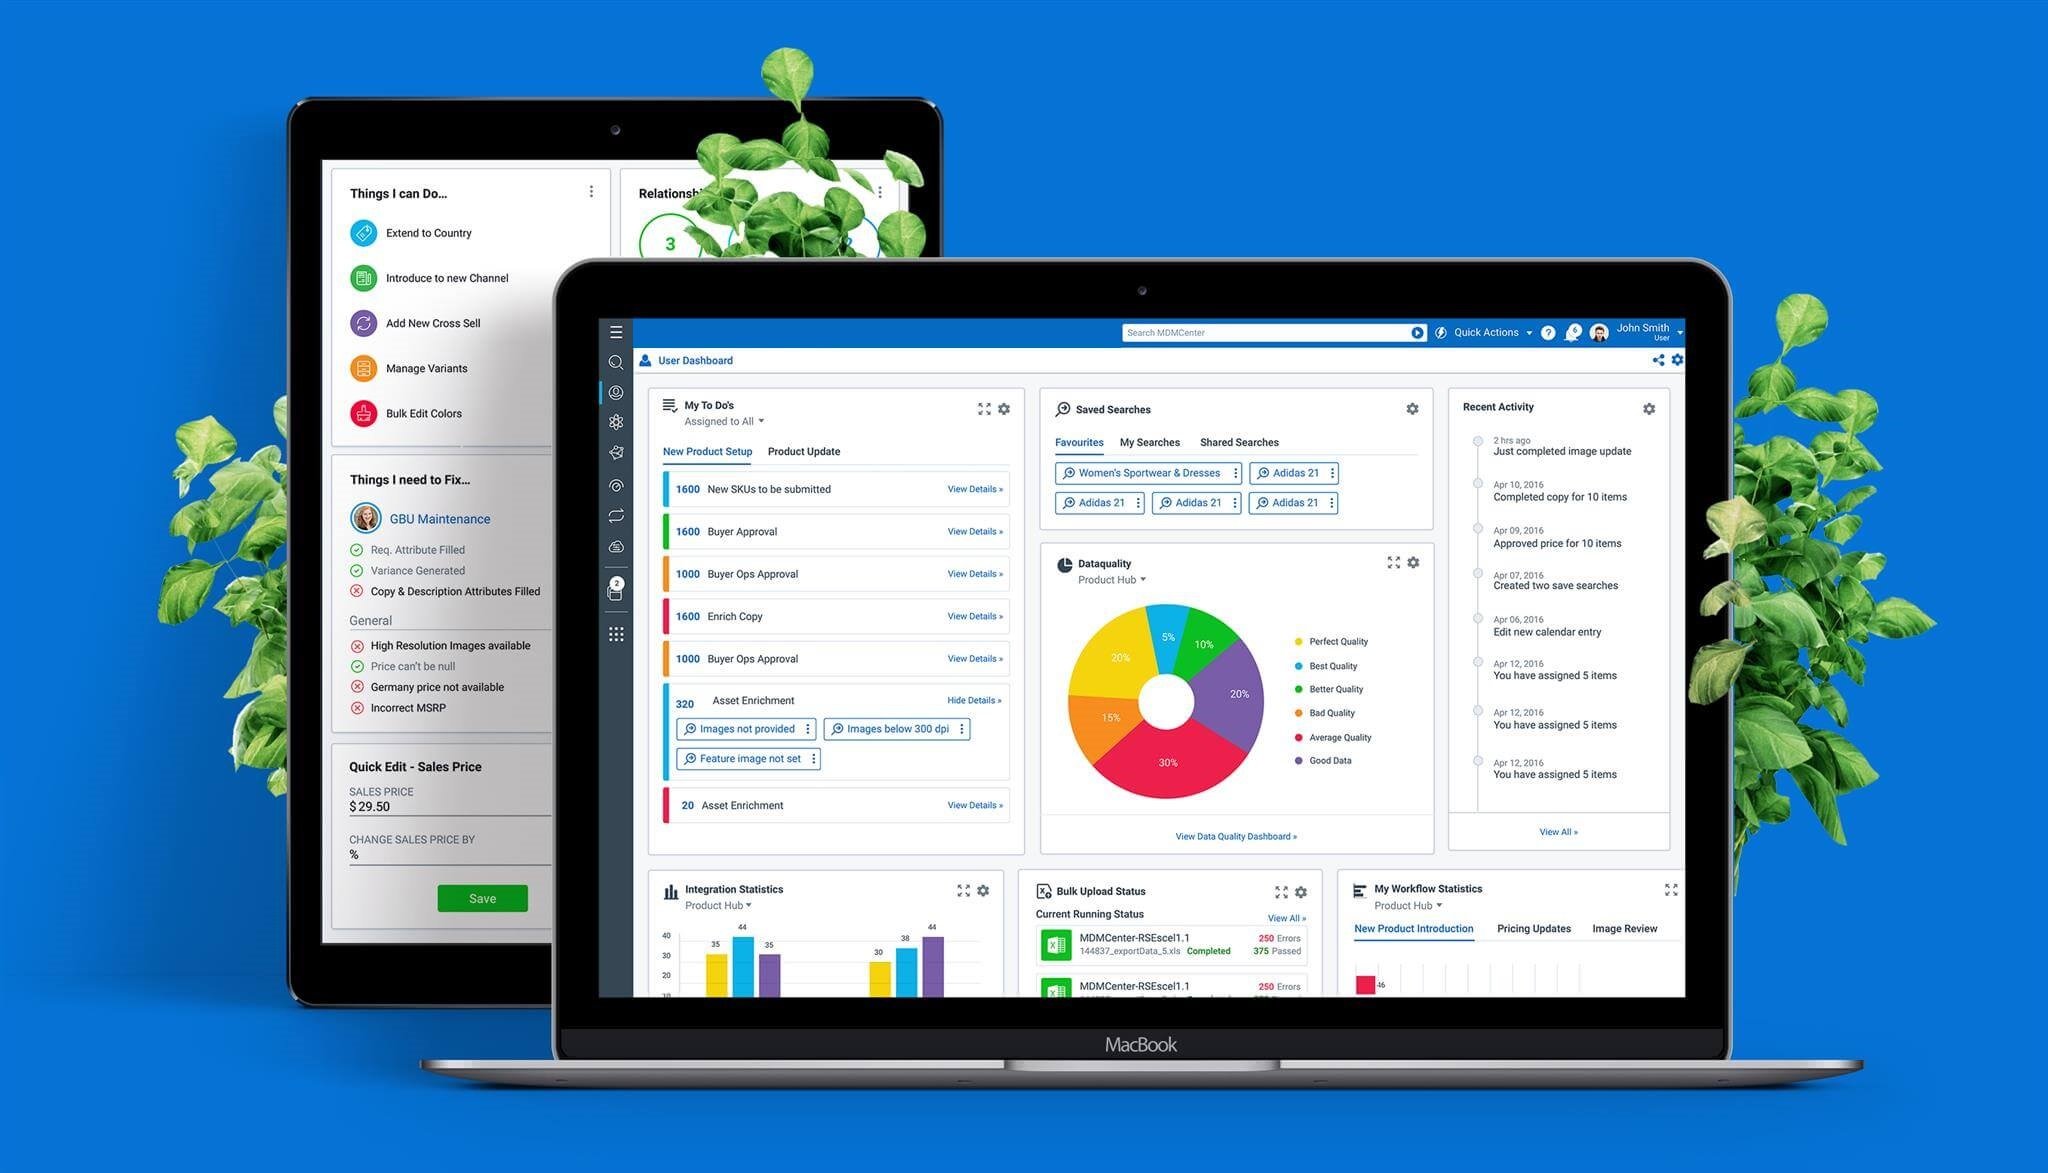
Syndigo is the first cloud-native solution that is purpose-built to deliver exceptional experiences across organizations, domains, and customers.

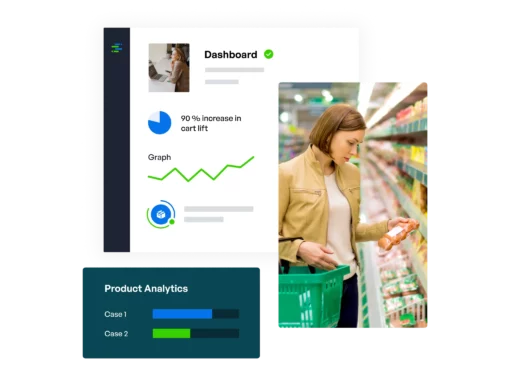
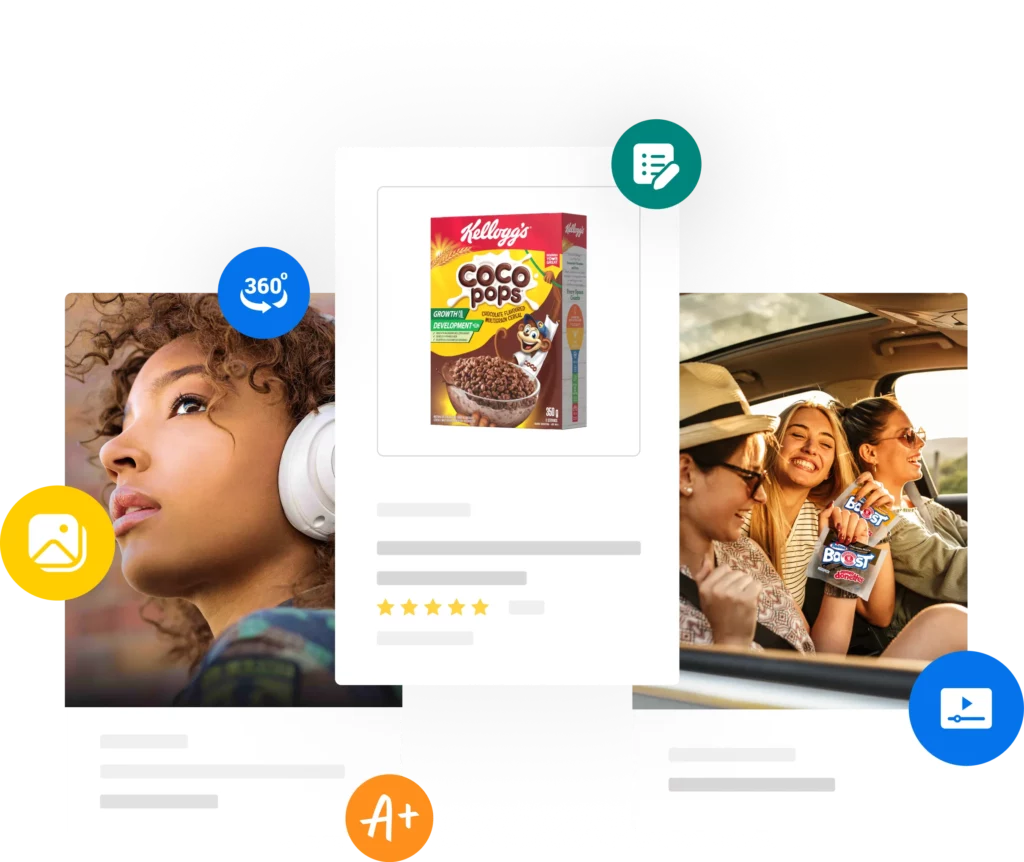
Internal data governance, effective content delivery, plus performance feedback and optimization, all in one. Regardless of company role, content type, domain, or industry vertical, we’re the only solution needed.


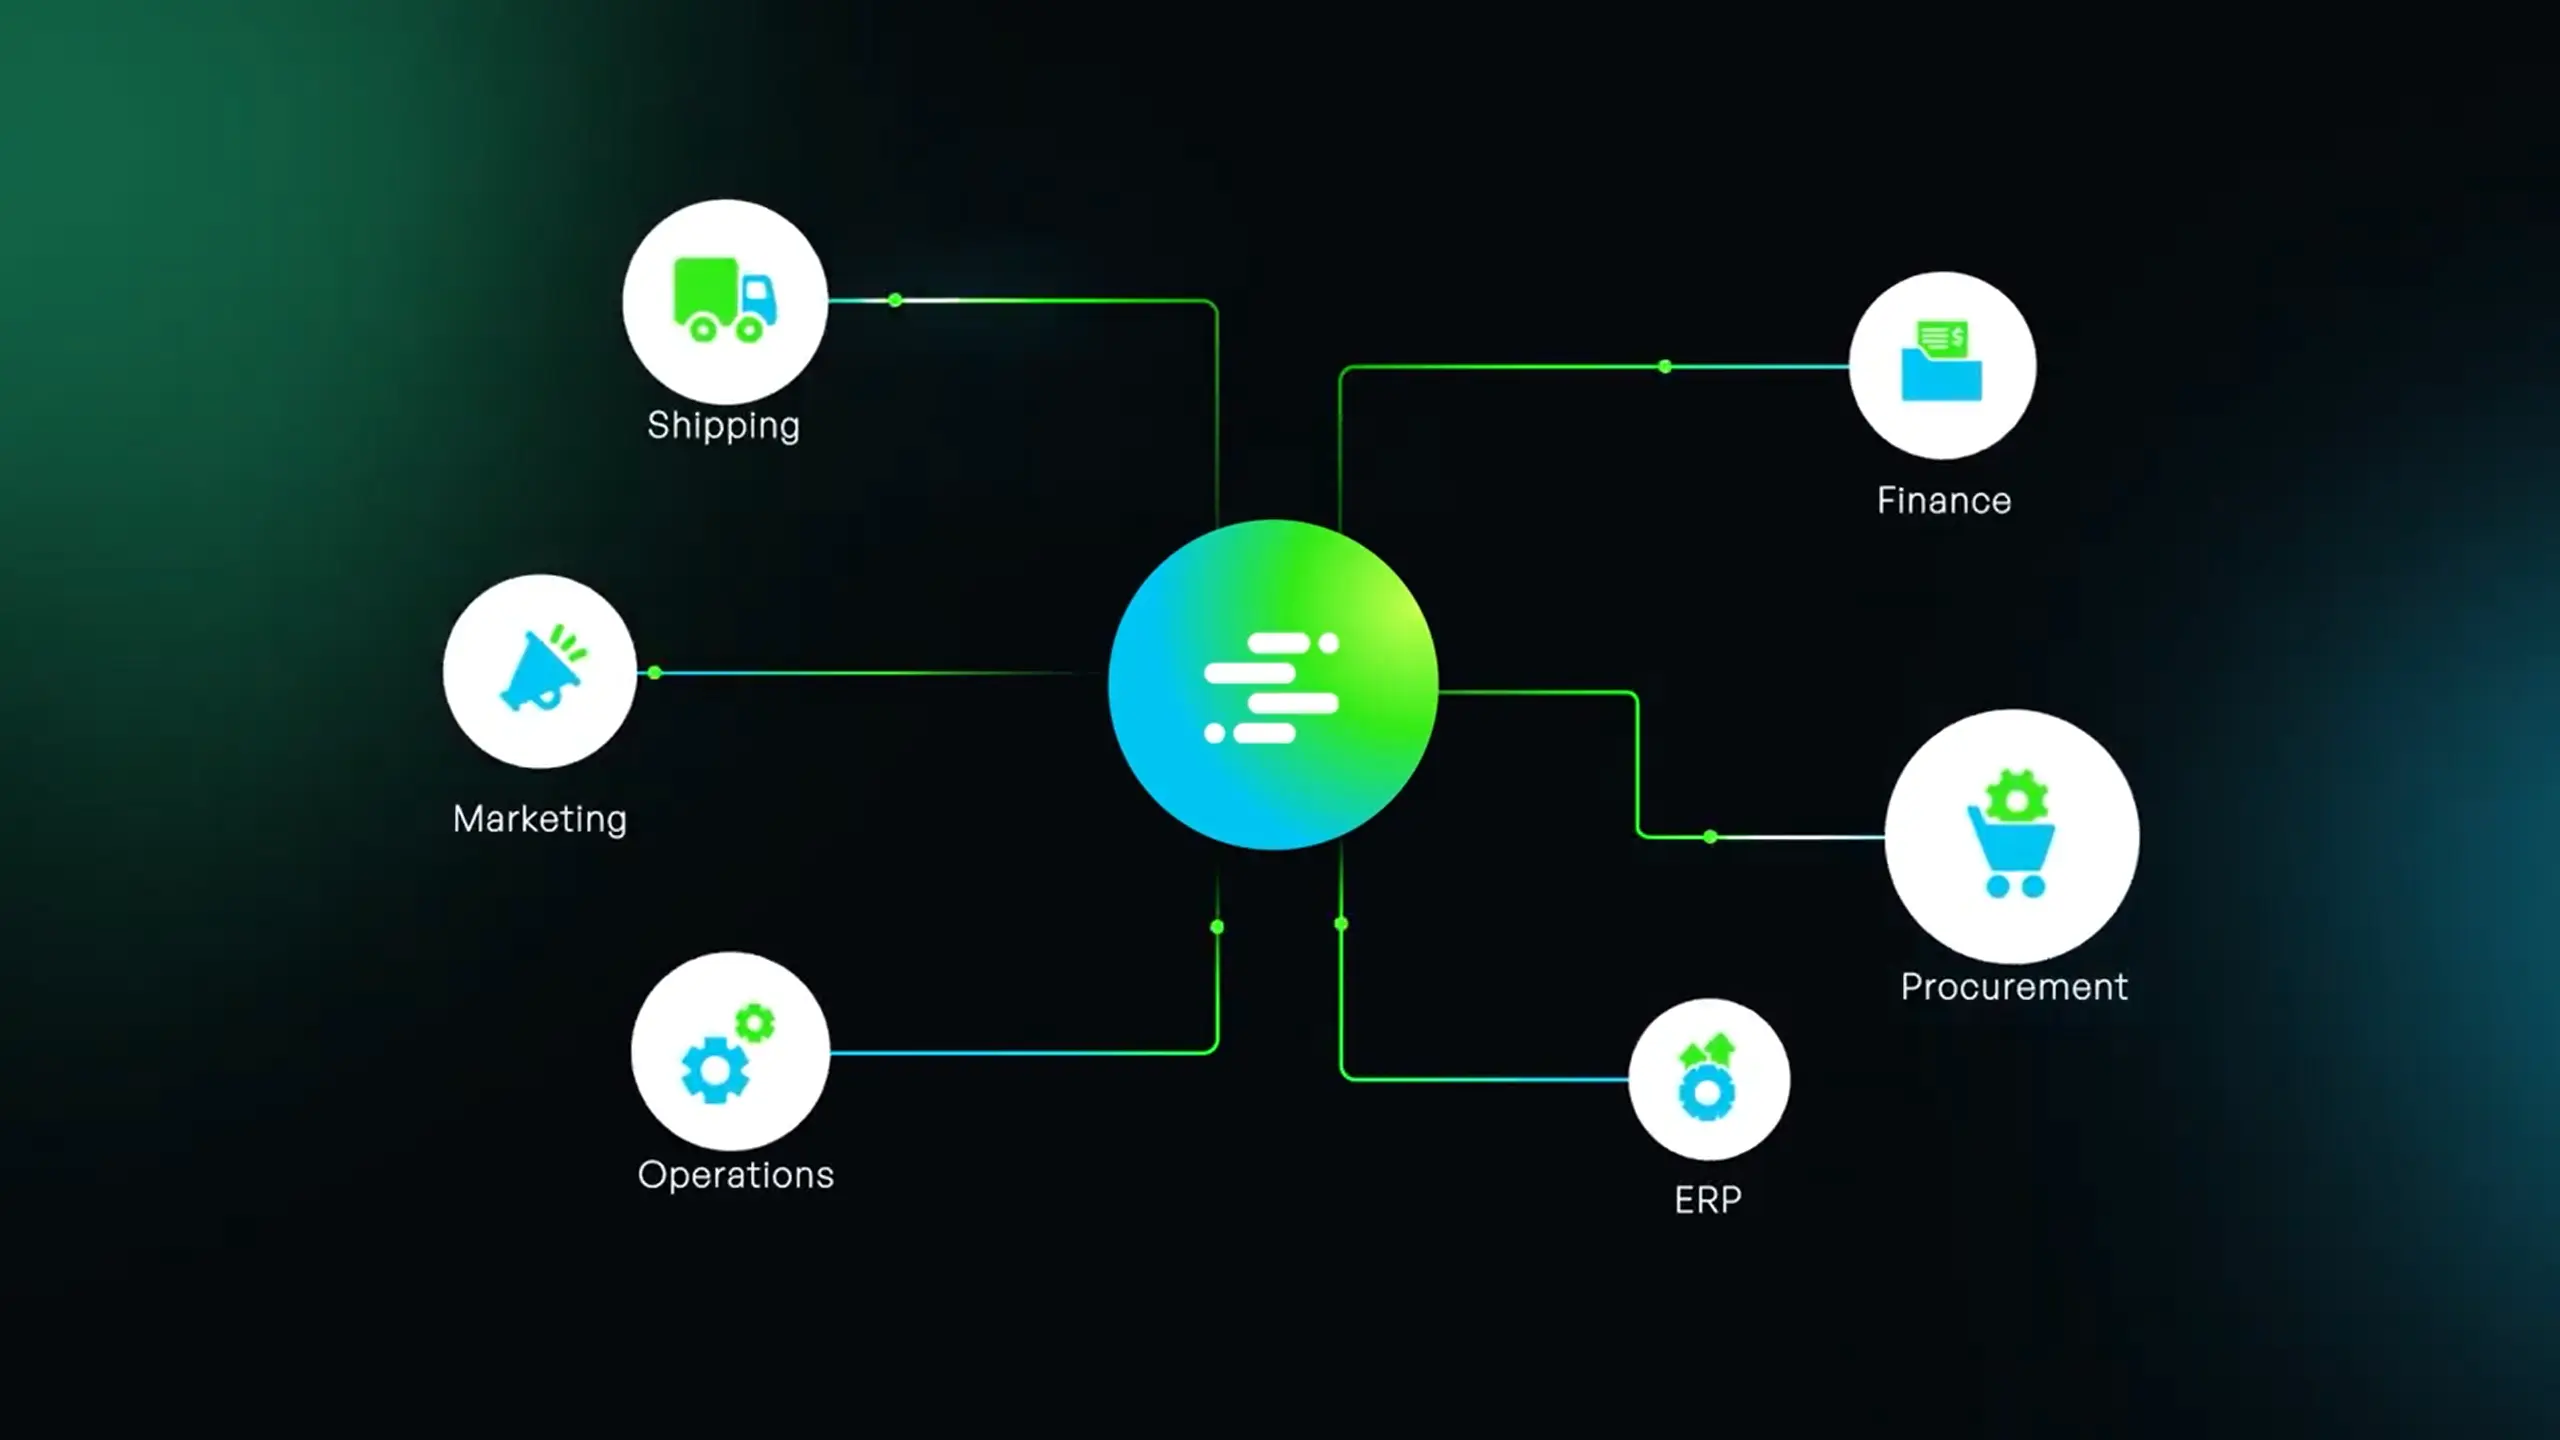
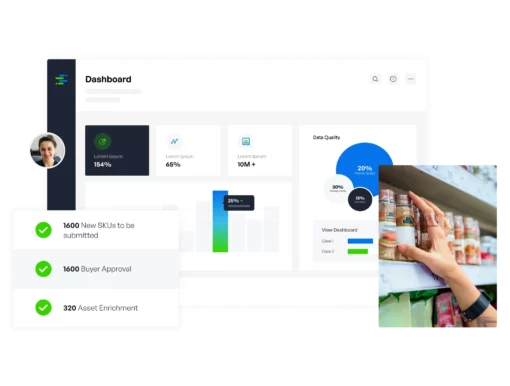
Manage the continual flow of information with a complete solution. Syndigo starts with a leading Master Data Management configuration that connects product, customer, and location domains with the means to scale.
Global Brands And Manufacturers
Global Recipients Connections
Daily Data
Quality Checks
Assets
Published
Retailers & Distributors
Manufacturers & Brands
Foodservice
Automotive Aftermarket
Restaurants & Operators

Healthcare
Consumer Package Goods
Energy
Industrial Manufacturing


Join the Largest, Global Two-sided Network of Brands + Recipients